Shortly after Matt and I moved to West Virginia, I was invited to a fall wreath making party. Needless to say, my first homemade wreath could have been better, but it was so much fun to make. I was hooked. Since that wreath, I have made some for Christmas presents, as well as one for every season to hang on our front door. There is a Sterilite tub in the basement just for my wreaths! It’s a therapeutic activity for me, which is good since I am horrible at relaxing. Being on the go ALL THE TIME gets to a person, you know?
Anyway, I was getting my car worked on a few days ago in the same area as Hobby Lobby and, well, I couldn’t NOT go in and browse. Their Christmas decor and holiday items were calling my name and before I knew it, I was in full swing of buying material for an idea running around in my head. Now, I am not artistic in any way, shape, or form. Want proof? Play Pictionary Down the Lane with me…it’s remarkable my stick figures pass as people. However, I enjoy hands-on projects and crafting is one of them. I took the idea in my head and started working as soon as I got home. I didn’t think to share this wreath here until it was halfway done, so I’ll do the best I can to describe what we did; Matt helped tremendously by creating the facial features and making the hat. He’s the artistic one for sure!
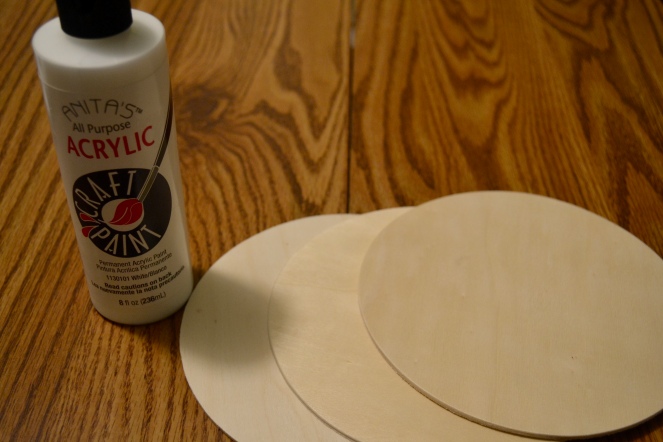
To start, I bought this wreath for $4.99. I’m sure there are other ones that would look cool too, but I loved the effect this one added to the overall project. I bought two pieces of felt, black and red, and white acrylic paint to cover the plywood discs as the body of the snowman. I bought the ribbon to wrap around it at Walmart since the idea to use it came from Matt later on. I already had a hot glue gun, so I was good to go there.


I started by painting the discs and letting them dry. I only used a couple coats, but you can gauge it based on how white you want them to be. Once they were done, I glued the discs together and chose where I wanted to place the snowman; for me, that was the left. I cut out some buttons from the black felt and looped a strip of the red felt for his scarf. Matt drew the carrot on scrapbook paper and cut out the hat. He’s quite a dashing snowman!

I then wrapped the ribbon around the opposite side to give the winter effect. It’s not perfect, but I’m still overall satisfied with how it turned out. It may be my favorite wreath yet! The sticks are from the yard and glued on behind the middle disc for his arms. I put them on after I wrapped the ribbon because otherwise, they’d get in the way. The whole project took a little over an hour, not including the dry time for the paint. If you try this project or any other Christmas craft, I’d love to see it!!

Very cute!
LikeLike